
All you want to know about us
Click here to share this article
Creating a bouncy castle from scratch can be a fulfilling and exciting project. Whether it’s for personal use, an event, or a business venture, constructing a bouncy castle requires careful planning, proper materials, and precise execution. This comprehensive guide outlines the process step-by-step, ensuring that you can successfully make a durable and safe bouncy castle.
Step 1: Gather the Required Materials
The quality of your bouncy castle begins with the materials you use. Ensure you have the following:
PVC Tarpaulin or Nylon Fabric: These materials are strong, waterproof, and durable, ideal for withstanding pressure and outdoor conditions.
Heavy-Duty Sewing Machine: Necessary for stitching the fabric securely.
Air Blower: Essential for inflating the bouncy castle. Opt for a high-capacity blower for larger designs.
Measuring Tape and Markers: For accurate dimensions and markings.
Industrial-Grade Zippers and Velcro: To secure entry points and facilitate inflation.
Adhesive and Sealants: For patching and reinforcement.
Scissors and Cutting Tools: To shape the fabric as needed.
Protective Coatings: To add UV resistance and waterproofing.
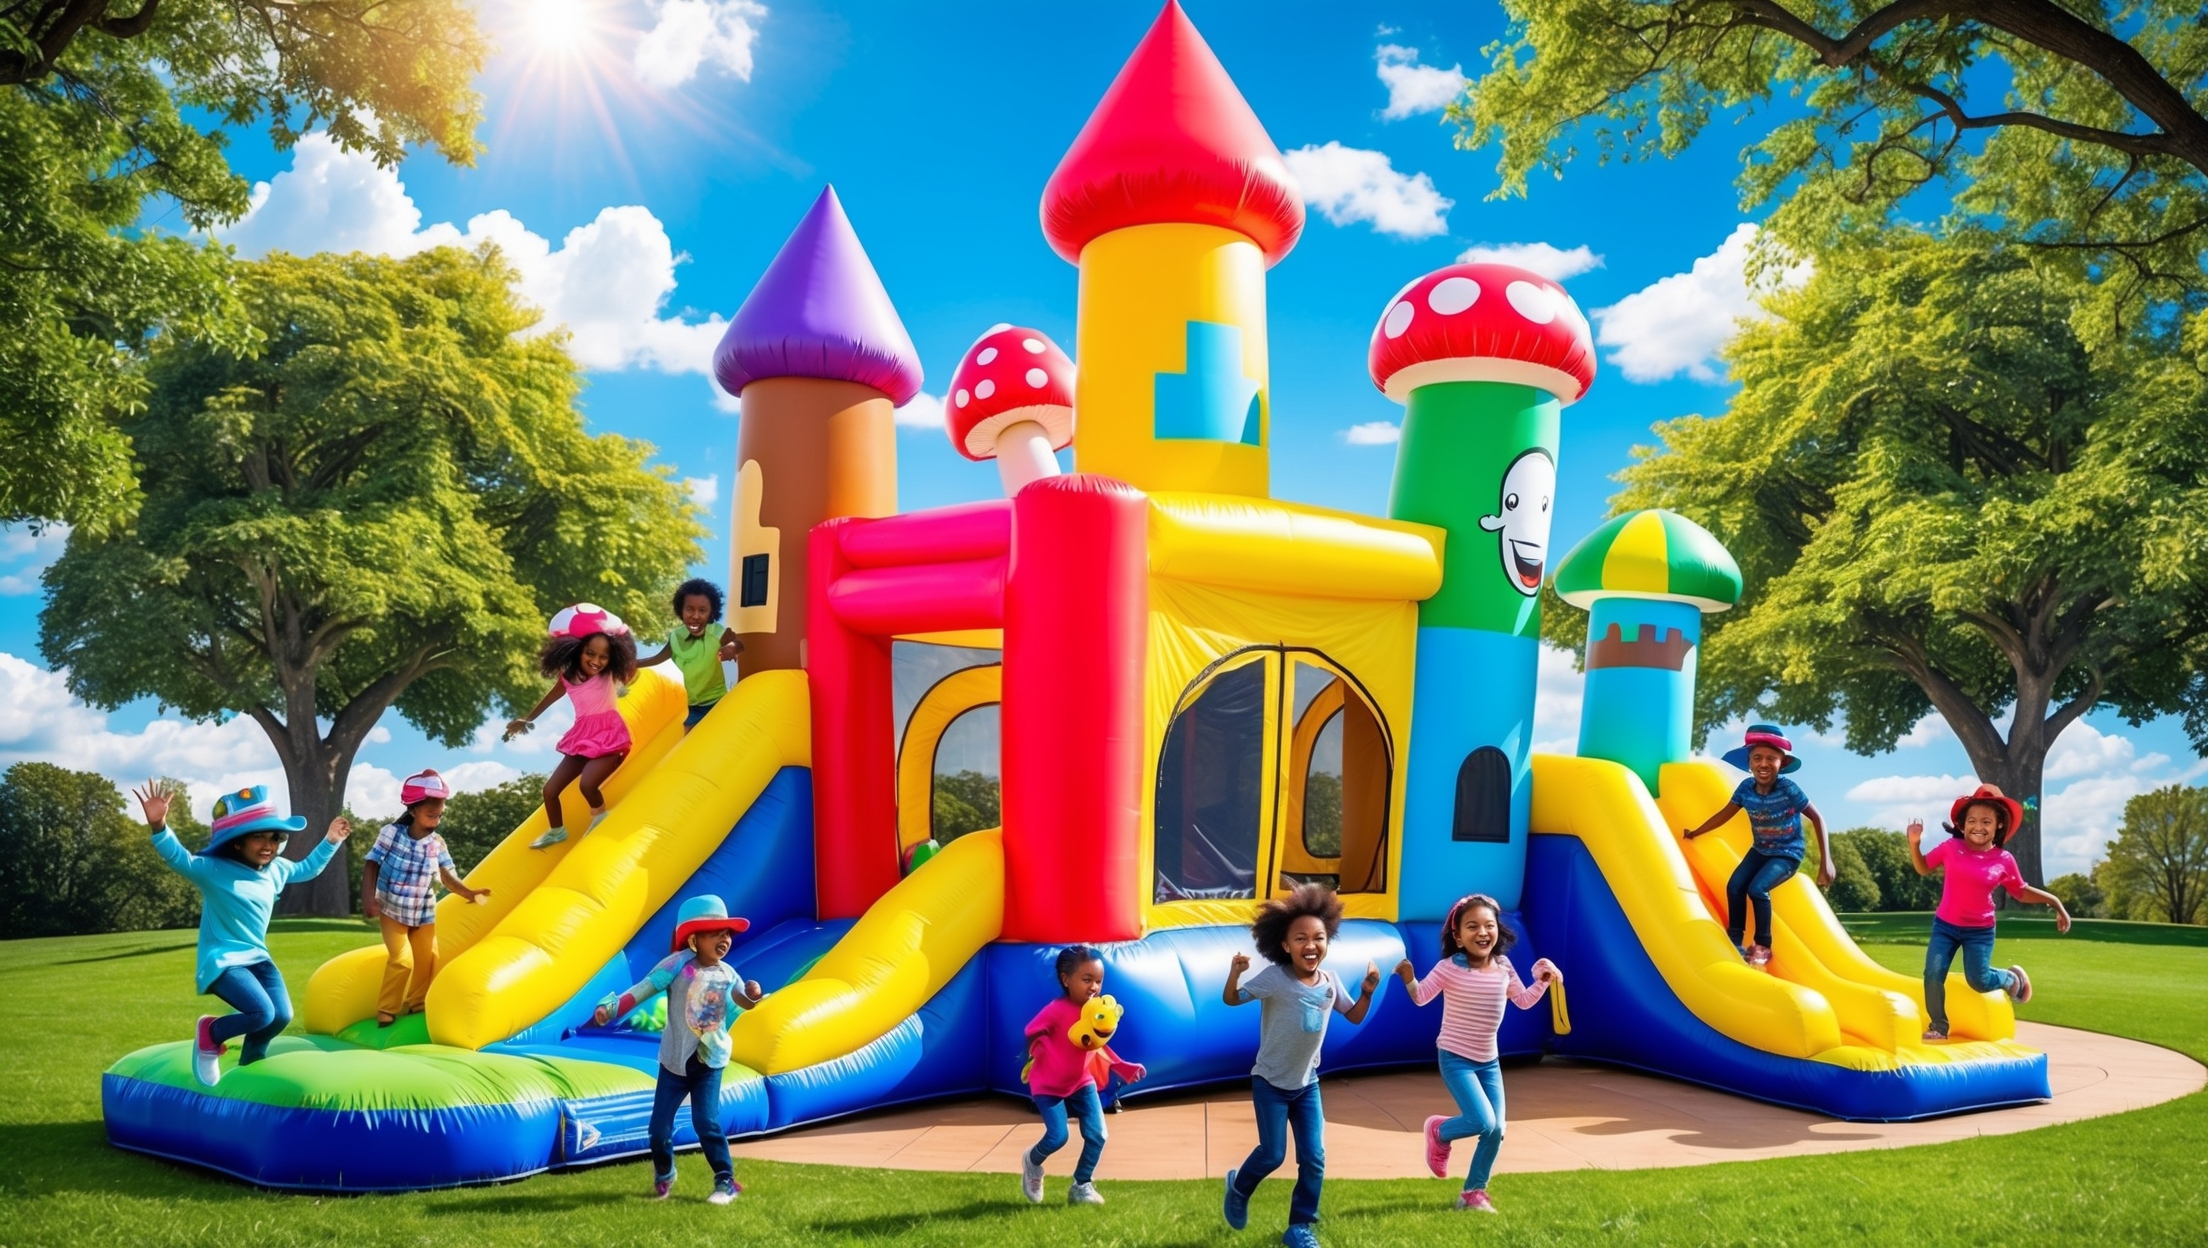
Step 2: Design Your Bouncy Castle
Sketch Your Concept
Begin by sketching the design of your bouncy castle. Decide on the size, shape, and features, such as slides, obstacles, or themed elements. Use graph paper or digital design software to create a scaled plan.
Determine Dimensions
Account for the intended users. For children, a smaller castle with lower walls suffices, while larger castles require sturdier construction for adult use.
Include Safety Features
Incorporate features like padded walls, mesh panels for visibility, and a secure entry/exit point. Safety is paramount, so ensure the design meets local safety standards.
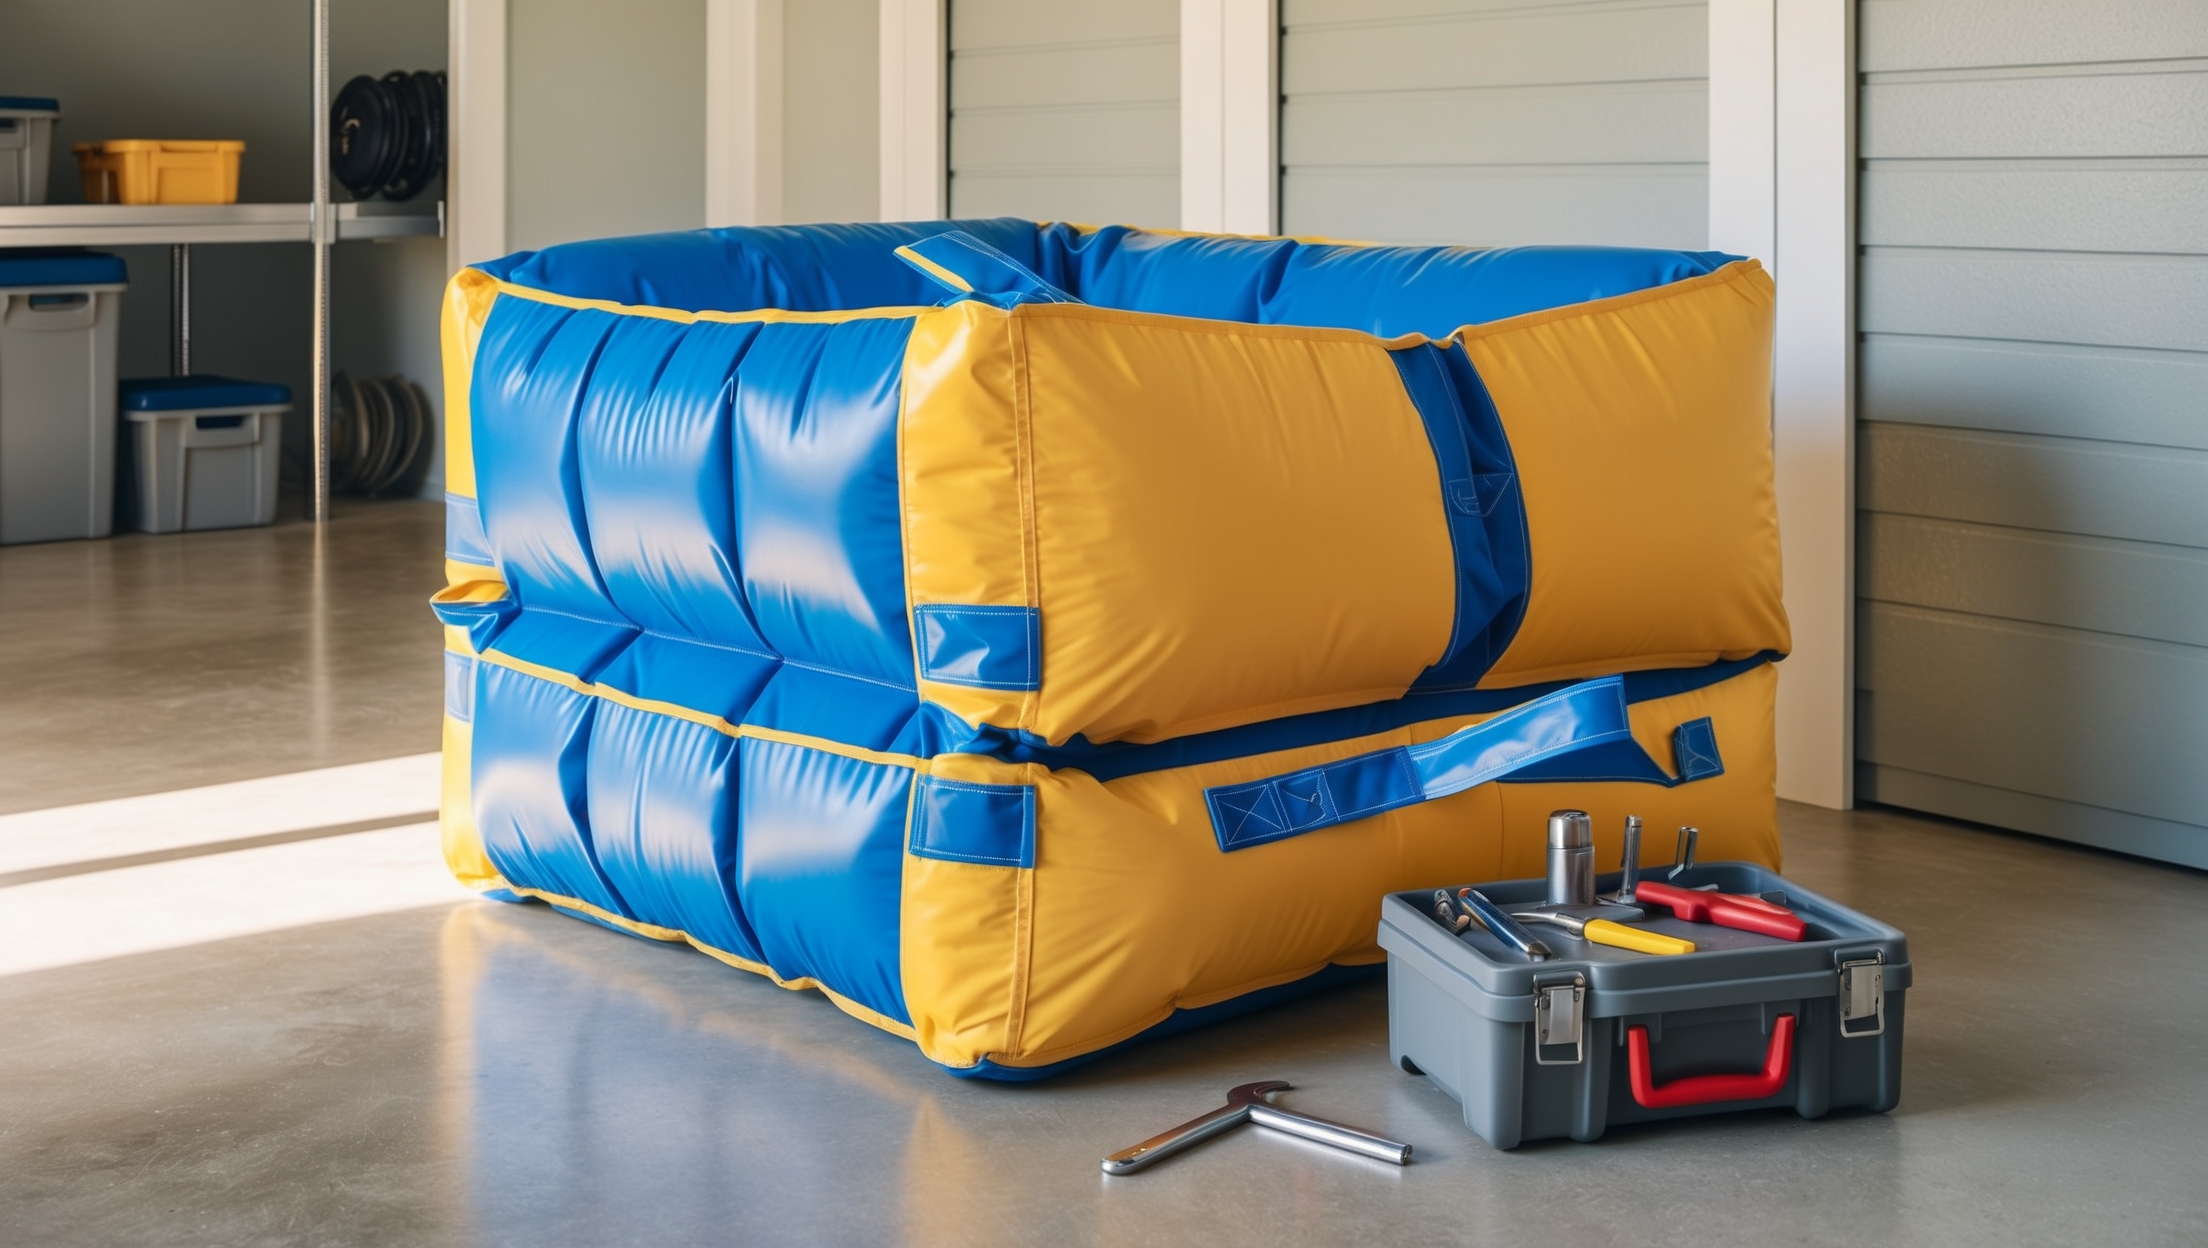
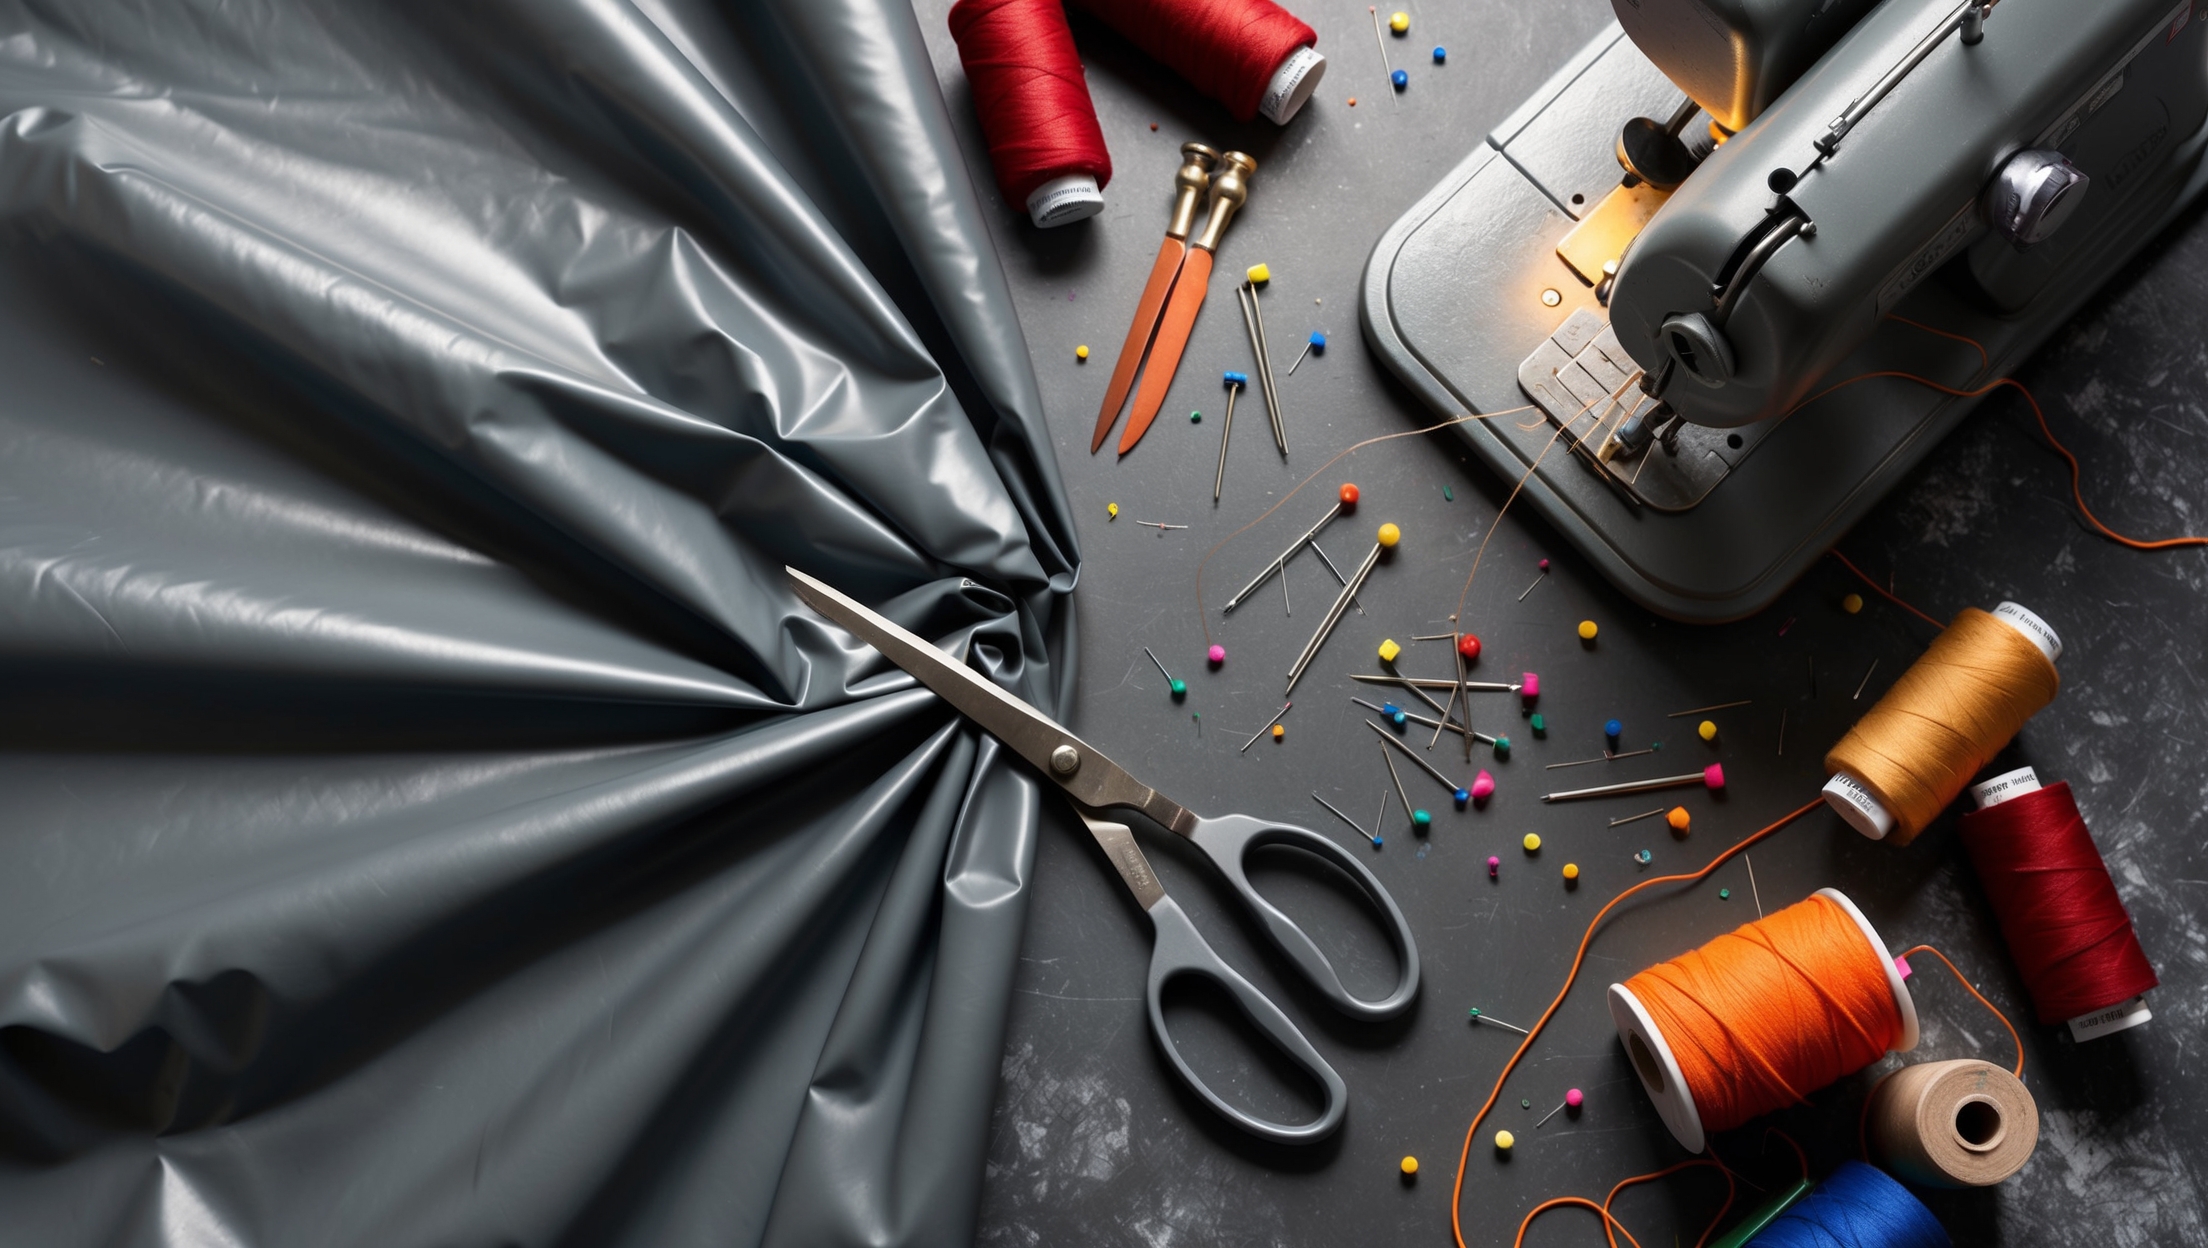
Step 3: Prepare the Fabric
Measure and Cut
Using your design as a reference, measure and mark the fabric. Cut the pieces for the walls, floor, and additional features, leaving extra material for seams.
Reinforce High-Stress Areas
Double-layer the fabric in areas that will experience the most stress, such as corners and seams. This reinforcement prevents tears and extends the lifespan of the bouncy castle.
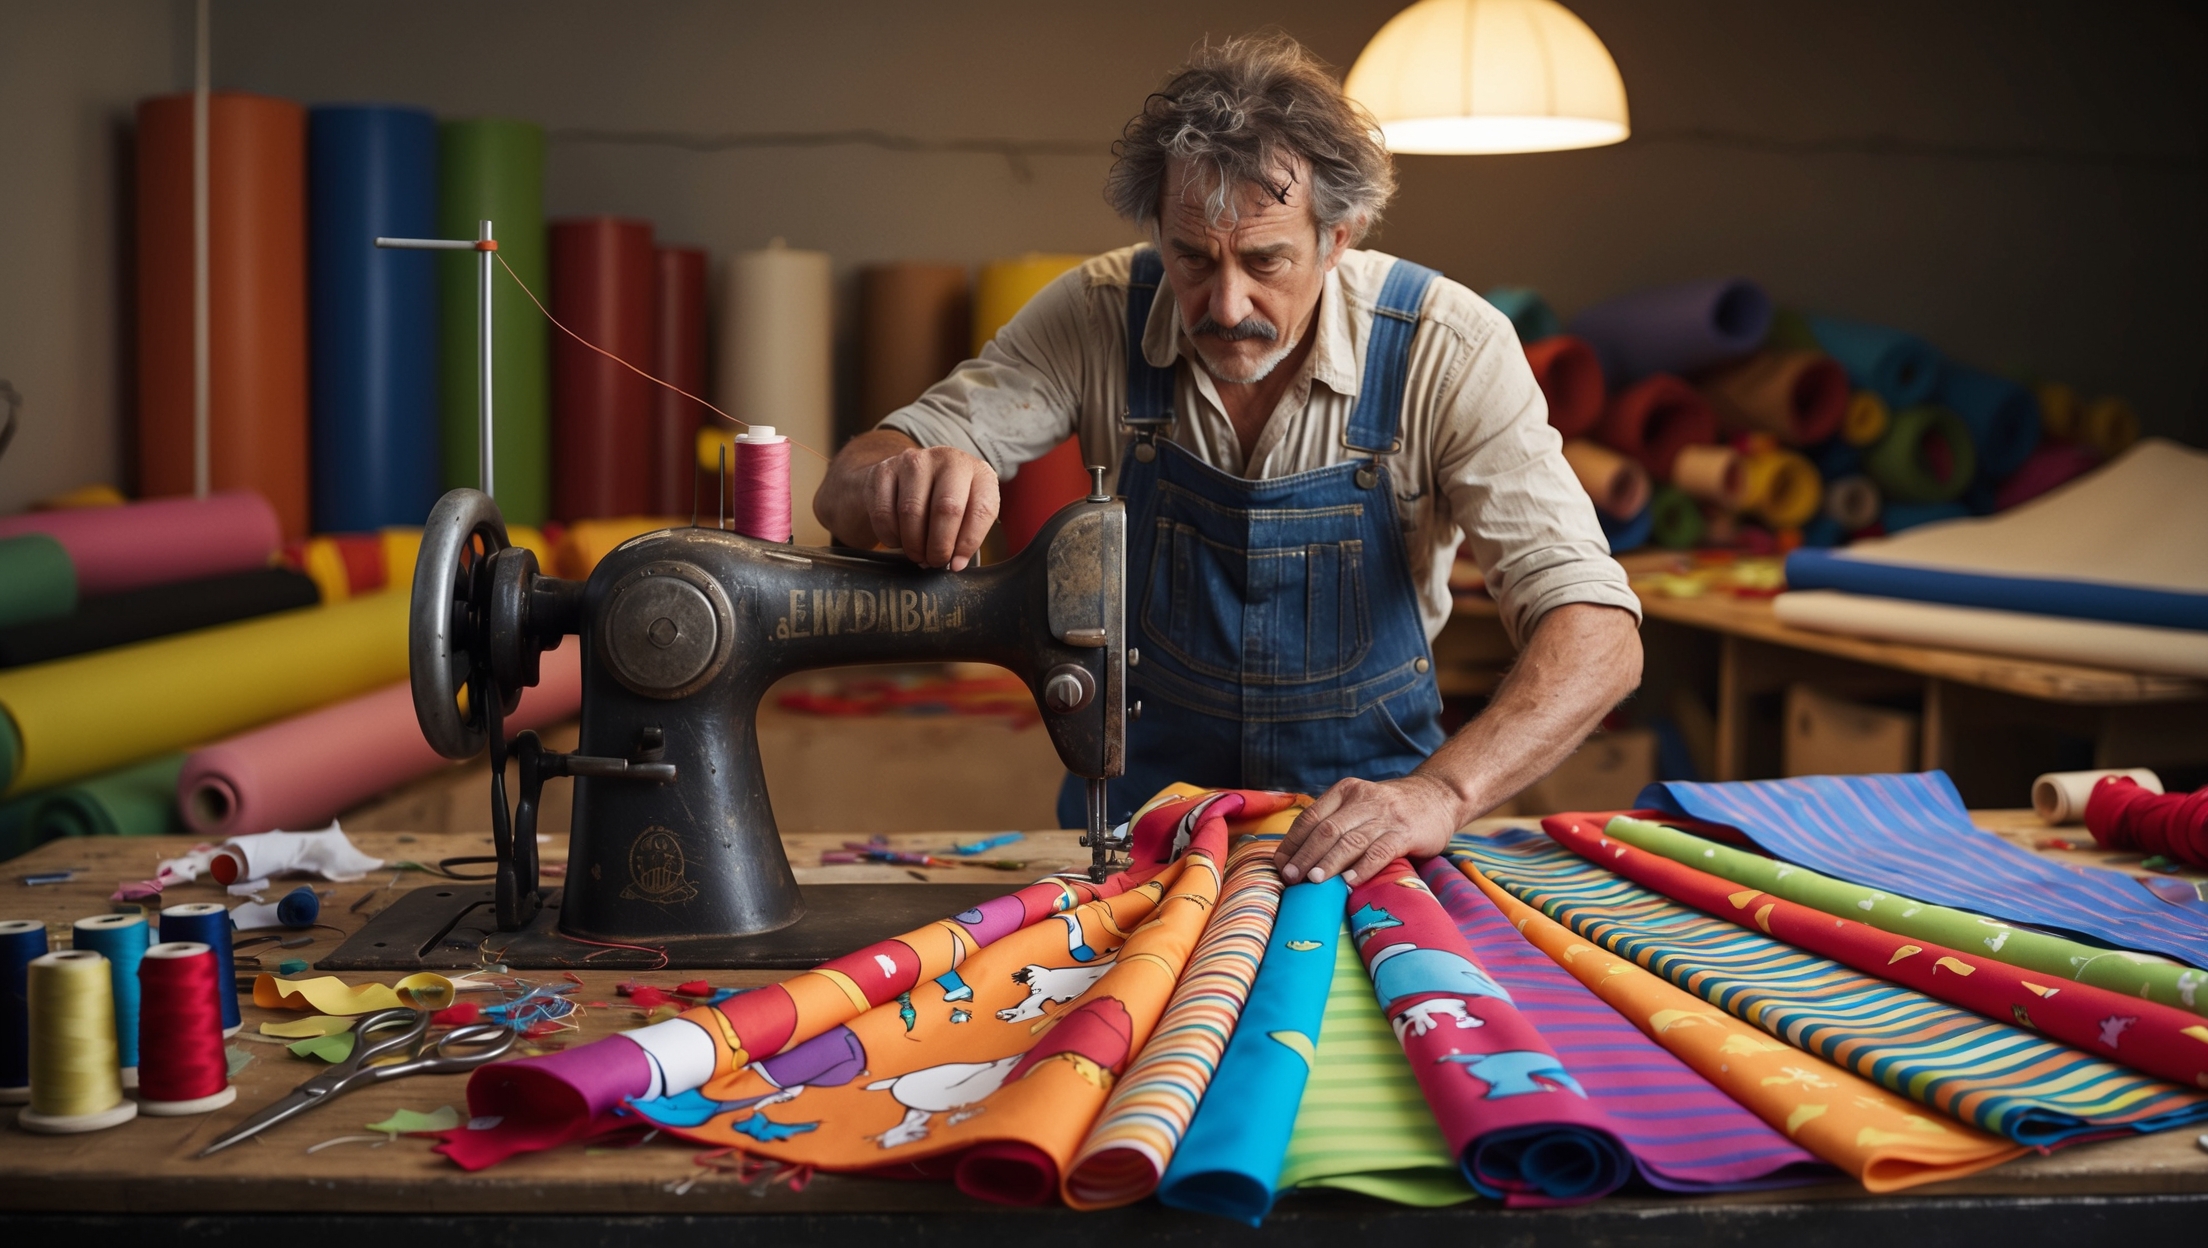
Step 4: Sew the Fabric
Set Up the Sewing Machine
Load the machine with heavy-duty thread and use a needle suitable for thick materials. Adjust the tension settings for precision stitching.
Stitch the Pieces Together
Begin sewing the main components—floor, walls, and features. Use double or triple stitching for added durability. Leave openings for the air blower and zippers.
Attach Velcro and Zippers
Secure the entry/exit point with industrial-grade zippers or Velcro. This allows for easy access while maintaining structural integrity.

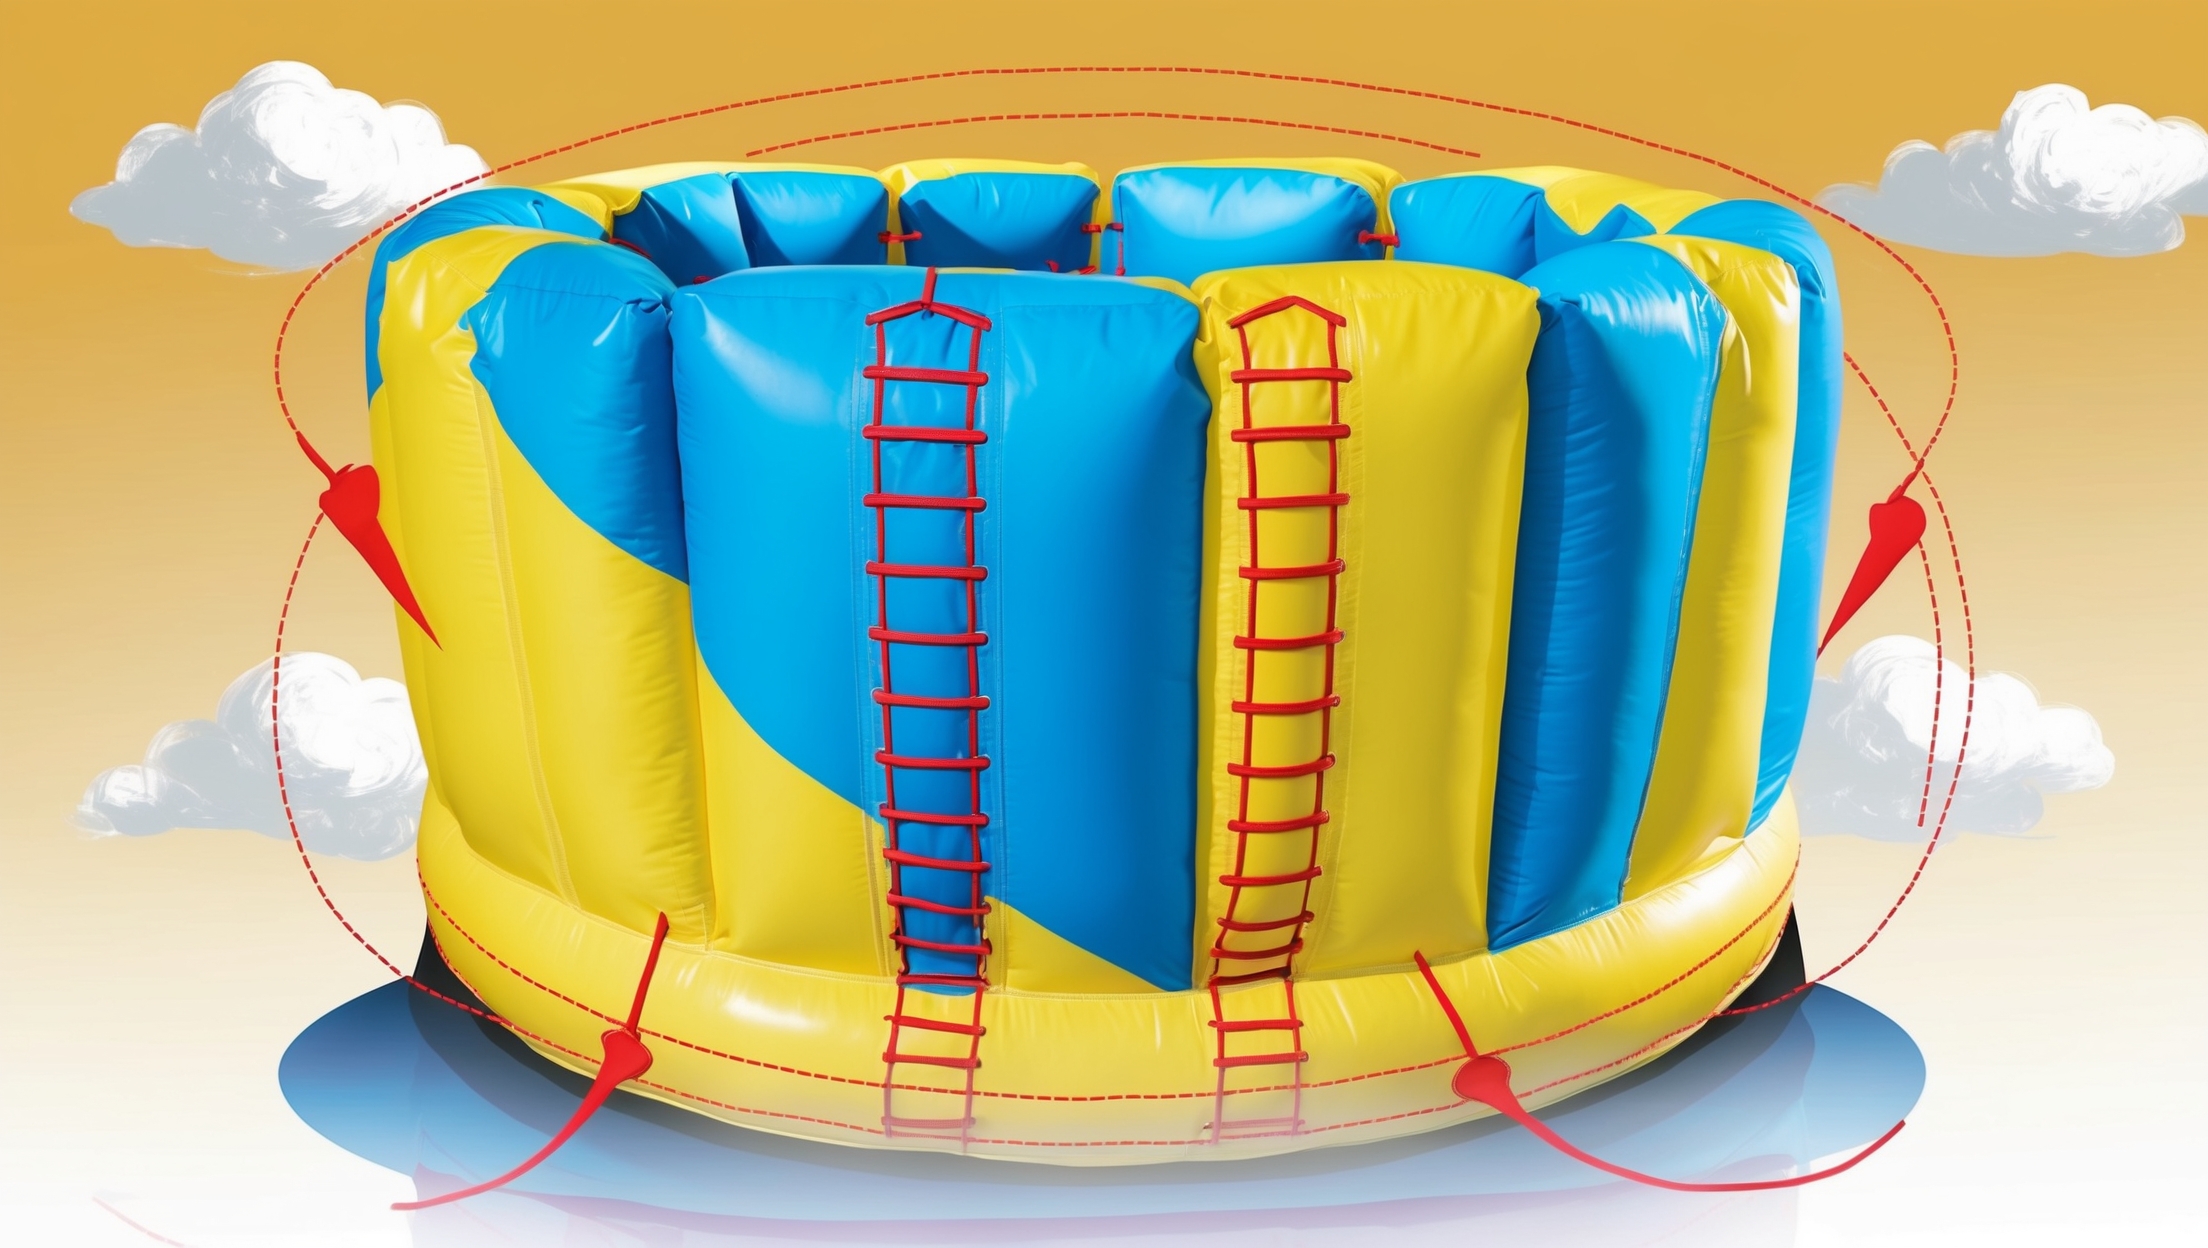
Step 5: Add Inflatable Chambers
Create Air Channels
Divide the interior into separate air chambers. This ensures even inflation and prevents a total collapse if one section is punctured.
Install Valves
Attach inflation valves to the designated openings. Ensure these are airtight and compatible with your blower.
Step 6: Test the Structure
Initial Inflation
Connect the blower and inflate the castle. Inspect the seams, corners, and features for air leaks or weak spots.
Perform Stress Tests
Simulate usage by applying weight to different areas. Address any issues by reinforcing seams or applying adhesive patches.

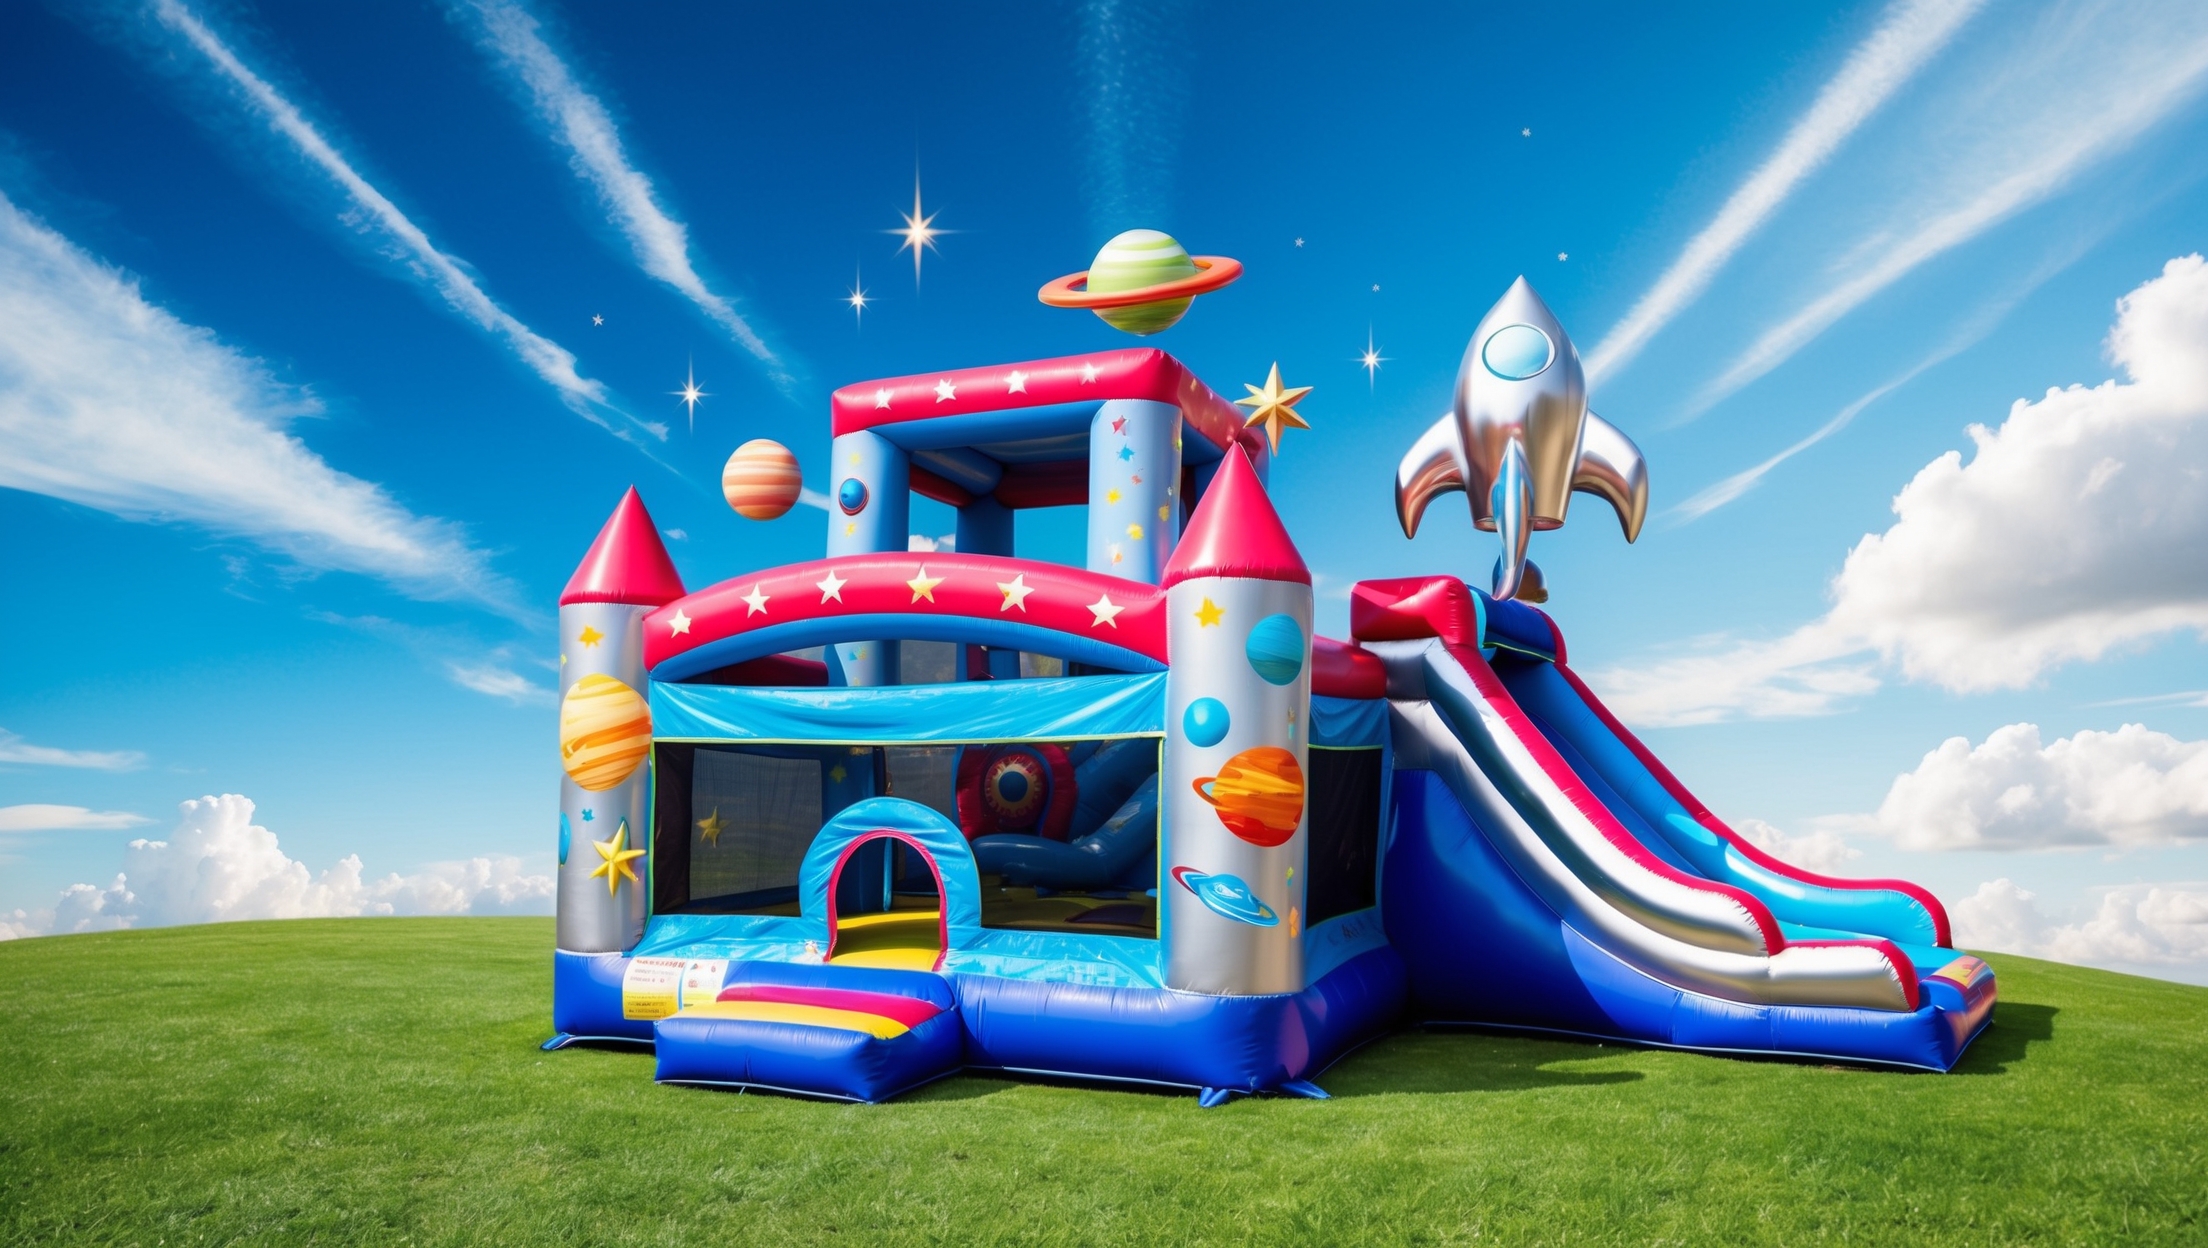
Step 7: Apply Finishing Touches
Paint and Decorate
Use fabric-safe paints to add designs, logos, or themes. Popular themes include castles, jungles, and space adventures.
Apply Protective Coating
Coat the exterior with UV and waterproof sealants. This protects the material from sunlight and moisture, extending its usability.

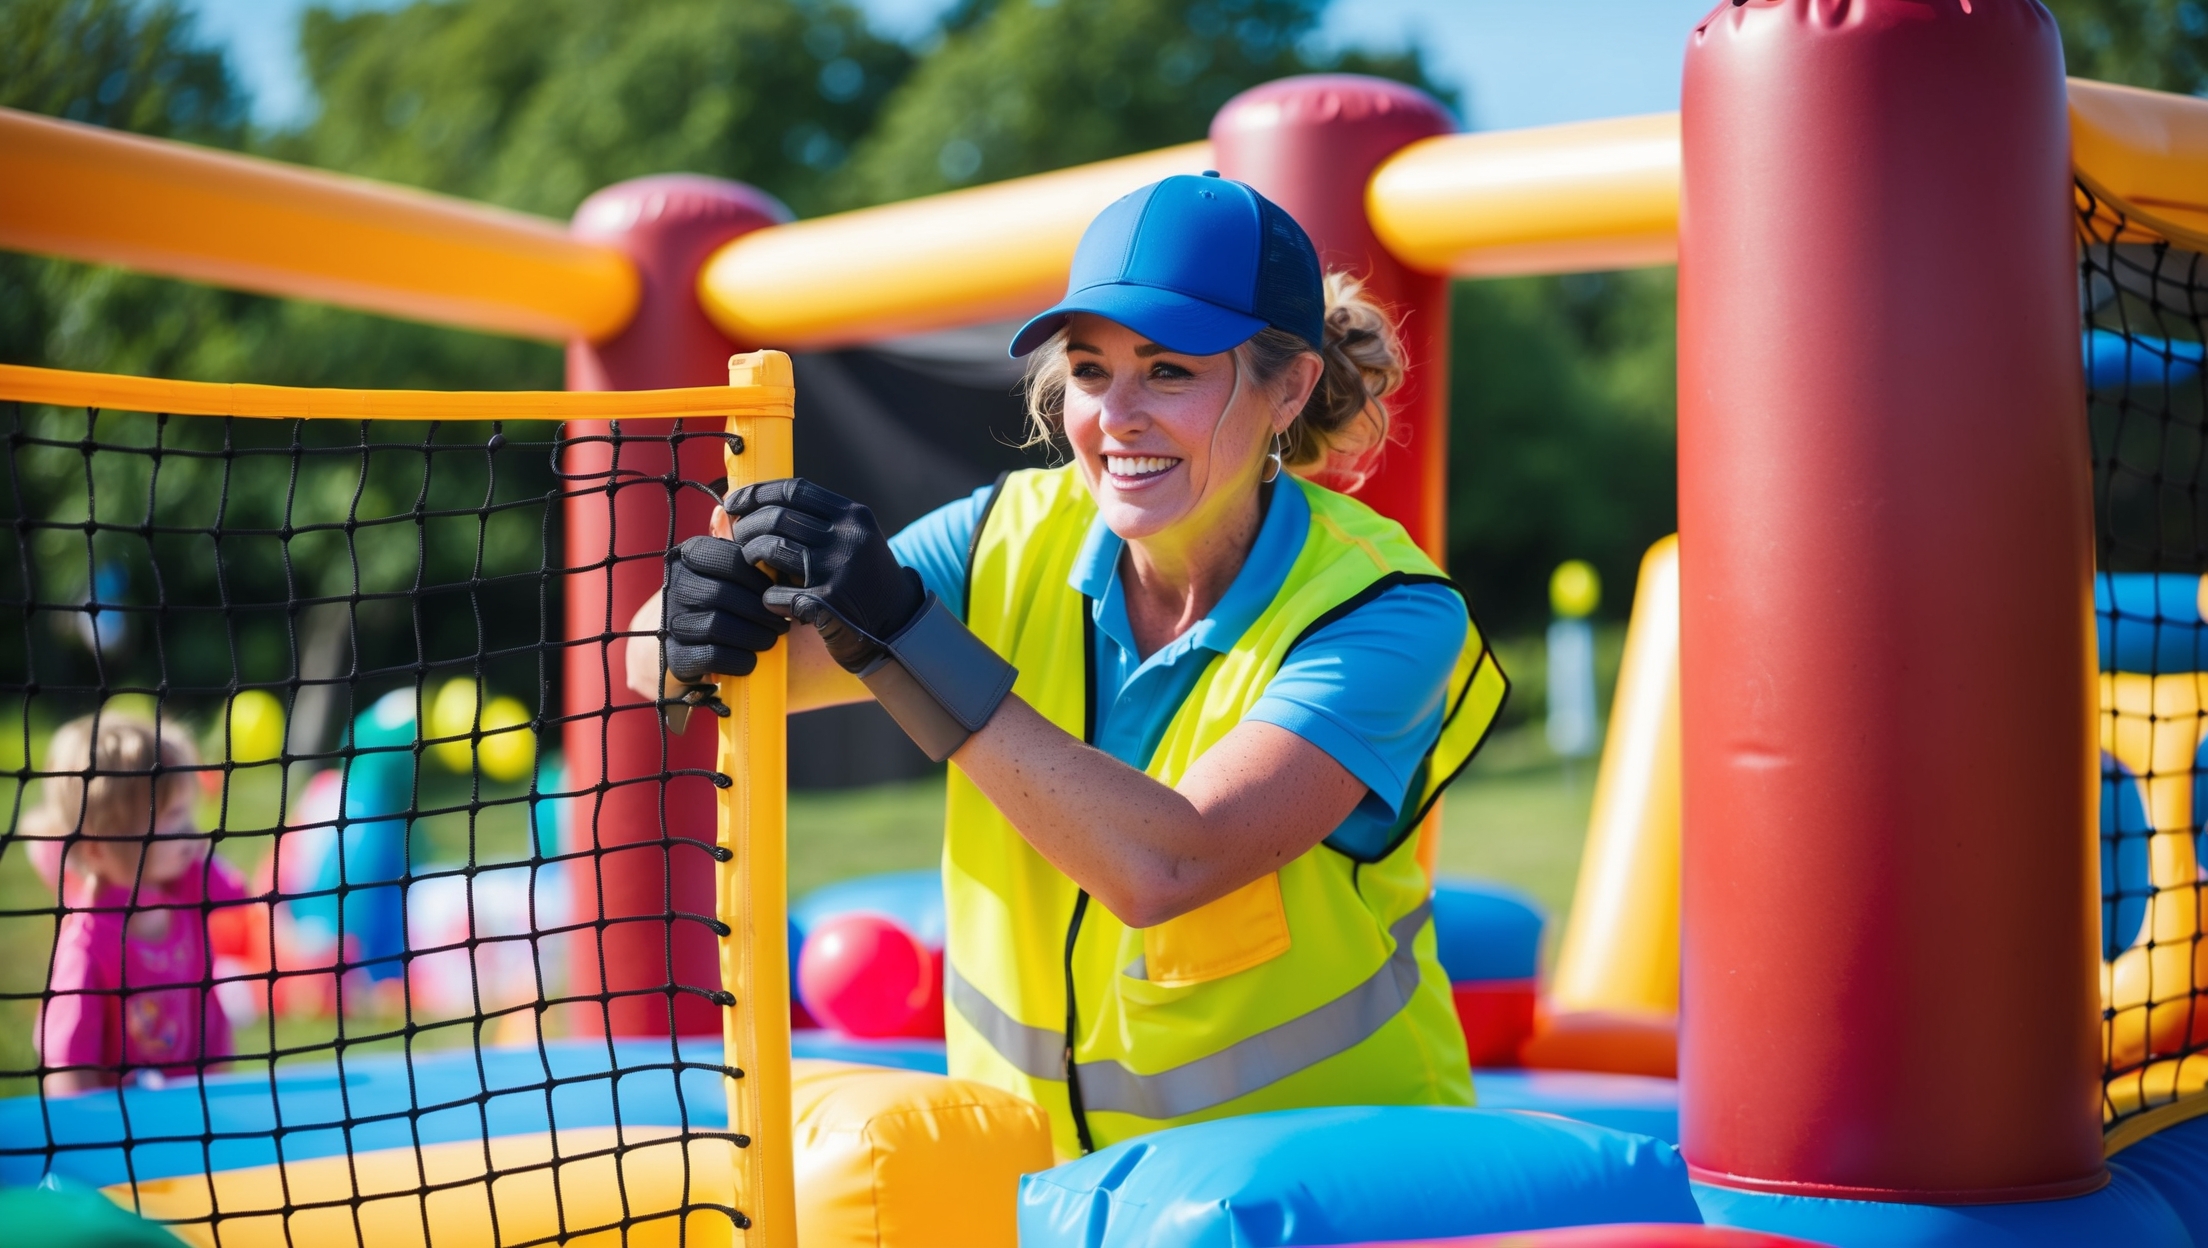
Step 8: Ensure Safety Compliance
Inspect Thoroughly
Check for sharp edges, exposed threads, or weak points. Smooth out imperfections and trim excess fabric.
Adhere to Regulations
Verify that your bouncy castle complies with local safety standards. Certification may be required for commercial use.
Step 9: Maintenance Tips for Longevity
Regular Cleaning: Wash the surface with mild soap and water to remove dirt and stains.
Frequent Inspections: Check for damage after each use and address issues promptly.
Proper Storage: Deflate and store the castle in a dry, cool place to prevent mold and material degradation.

Benefits of Building Your Own Bouncy Castle
Creating a bouncy castle offers several advantages:
Customization: Tailor the design to suit your needs and preferences.
Cost Savings: DIY construction is more affordable than purchasing a pre-made unit.
Skill Development: Learn valuable skills in design, sewing, and problem-solving.
Final Thoughts
Constructing a bouncy castle is a rewarding project that combines creativity, craftsmanship, and practicality. By following this step-by-step guide, you can design and build a durable and safe structure that brings joy to users. Whether for personal enjoyment or business purposes, your handmade bouncy castle is sure to stand out.